Using flowers & plants to naturally dye silks in an ethical way without using harmful chemicals
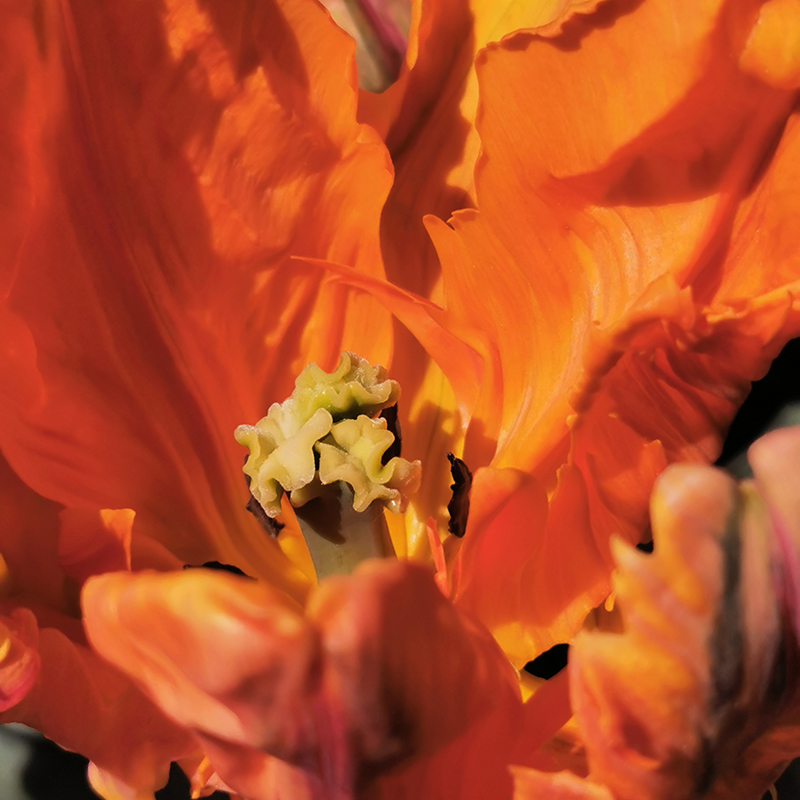
This is a fun process that took a while to develop researching and testing every floral/plant variety I could lay my hands on to discover which worked best. Quite unusually the colour from the original plant is never what you actually end up with, for example you would start off with a tomato plant leaf bright green in colour that would actually turn golden in the end result.
Laying the plants in a pre-selected way, then wrapping the silk very carefully within a plastic wrap (which we always re-use as many times as possible & finally recycle) then steaming in a filtered water bath. The colour is set by pre-soaking the silks in a natural album solution. Below I will explain this in more detail, with a short video of the process at the end.
A friend asked me to explain in more detail about how I work in the studio. So today I’ll tell you about a new process, to which I devoted almost the whole summer studying and still have a long way to go. This process is dyeing fabrics using only plants and flowers extracting their natural pigments. This is a dyeing method is only suitable for natural fibres such as silks and linens. It includes many steps complex steps and really does take a lot of time; even once you know what you are doing.
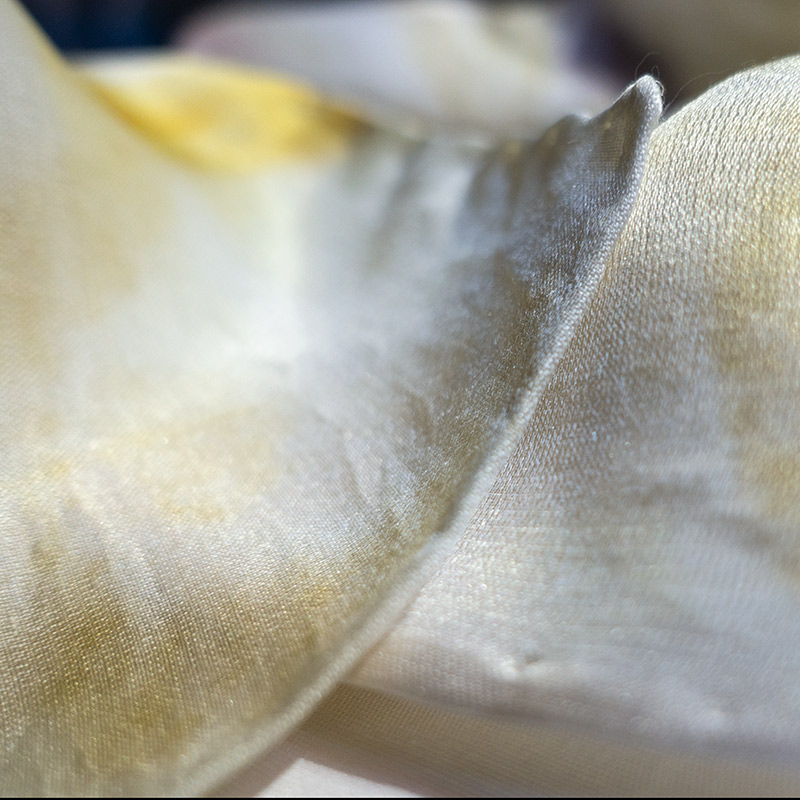
For this we chose the natural look and feel of silk, I love it for its tactile sensations, for me it is alive in the way that it plays with light as you wear it. This material has incredible properties that can warm you up on cooler days and the opposite on a hot day.
For the start of the process you need to prepare the fabric: a cold rinse to wash it clean of any impurities. The PH of water and soap is important here using only natural soap, this greatly affects the later stages of dyeing,. During the hand washing stage you need to be careful not to damage or the fibres. Next is a mordant stage, this process is very important, for fixing (permanent locking) of the natural colours,. If this is not done correctly the pigments will disappear after a few washes. I use allum, because it is a natural crystal and causes no harm the environment. As I found out, you must be careful to always work with gloves and a mask, as the raw crystals can cause burns; as happened to me a few times while learning the process.
After the Mordant stage the fibre is ready and you can start dyeing, here is where we finally can apply the creative process. In advance we decide and plan what to do with either natural dyes or make an plant/flower print, or mix the processes all together - there are many options that I needed to explore.
It really is impossible to control this process 100%, and this I like, it’s always a surprise😁 I think anyone who are engaged in ceramics or analogue photography (there are still a few out there) will understand what I mean.
After we have set the design out with plants, we very gently heat it using a steam bath. After which we clean the silk from plant residues, rinse well in warm water, dry and iron.
If we are happy with the design and how it came out, we commit to finishing the edge, for thisI prefer a hand rolled edge using a pure silk thread, because the result is amazing. It is difficult to do and the look is very traditional, you can always tell when a silk scarf has been finished by hand. When you know you know, and finishing it by machine would just not look or feel right. This process for one scarf alone can take up to 6 hours.
The whole process of creating one scarf takes around 3-4 days. There are so many stages in this process where mistakes and damage can occur, but I'm not upset, because I think to create something beautiful, we always have to pay our price.
Thank you for reading, please feel free to register for our newsletter and lets stay connected.
